

How to Build a DIY Golf Simulator Cage
Posted by spectrum golf on Aug 3rd 2023
How to Build a DIY Golf Simulator Cage
A golf simulator cage is essential to building a high quality golf simulator. It provides a frame to hold the golf screen and provides added protection on the sides and top. We will discuss everything you need to know to build a golf cage that is functional, attractive and fits your budget.
PLANNING FOR YOU
Planning is the key to building your golf cage. All you need is a tape measure, and pad/paper. Start by measuring the room. Length x Width x Height . Then measure any obstacles that may come into play. Take a look at windows, doors, ceiling fans, and duct work. When installing one in your garage, also look at your garage door frame and opener. These typically become an issue when you are tying to set up a golf cage in your garage. Another important consideration is vaulted or angled ceilings . Always leave a few inches on the sides and top, when building your golf cage. This allows room for the ball to impact. A lot of bonus rooms have vaulted ceilings. Its best to draw them out and measure all of the angles. Once you get all the dimensions, its best to draw up a rough sketch. Send them to Spectrum Golf at optishotgolfsimulator@gmail.com. We will provide a free no obligation layout showing golf enclosure, golf mat placement, projector placement and golf simulator placement.

FREE LAYOUT
EXAMPLE FOR SPECTRUM
WHICH IS BETTER? DIY OR COMPLETE
At Spectrum Golf, most of our golf cage kits provide all the basic components you need to build your ultimate golf cage. Our design service is always free and we will help you any way we can in building you dream golf enclosure. To go out and source all the components you need, buy them individually and make sure they are all the correct size takes a lot of time and home work. Since we buy in bulk and offer package pricing, it typically ends up costing less to purchase our kits than go out and buy everything separate.
WHAT
In building a DIY golf cage you need a metal saw, miter box ( for straight cuts ) tape measure, marker, pliers, metal file to file ends of the conduit, socket set ( for bolts on connectors ). Other tools you may need include screwdrivers, and an allen wrench set.
All of these can be purchased at Lowes or Home Depot.
Most golf cages are built with

Conduit is the lowest cost golf frame material. You can also build it out of slotted 1.5" aluminum extrusions. Checkout Spectrum Golf's proseries golf enclosure.
The beauty of the Proseries golf cage is that the entire golf frame is precut and premeasured. It comes 100% complete. Assembles with simple hand tools


WHAT IS THE
Now that we have addressed the frame . Lets look at the other material needed to build your golf cage.
SIDES/TOP.
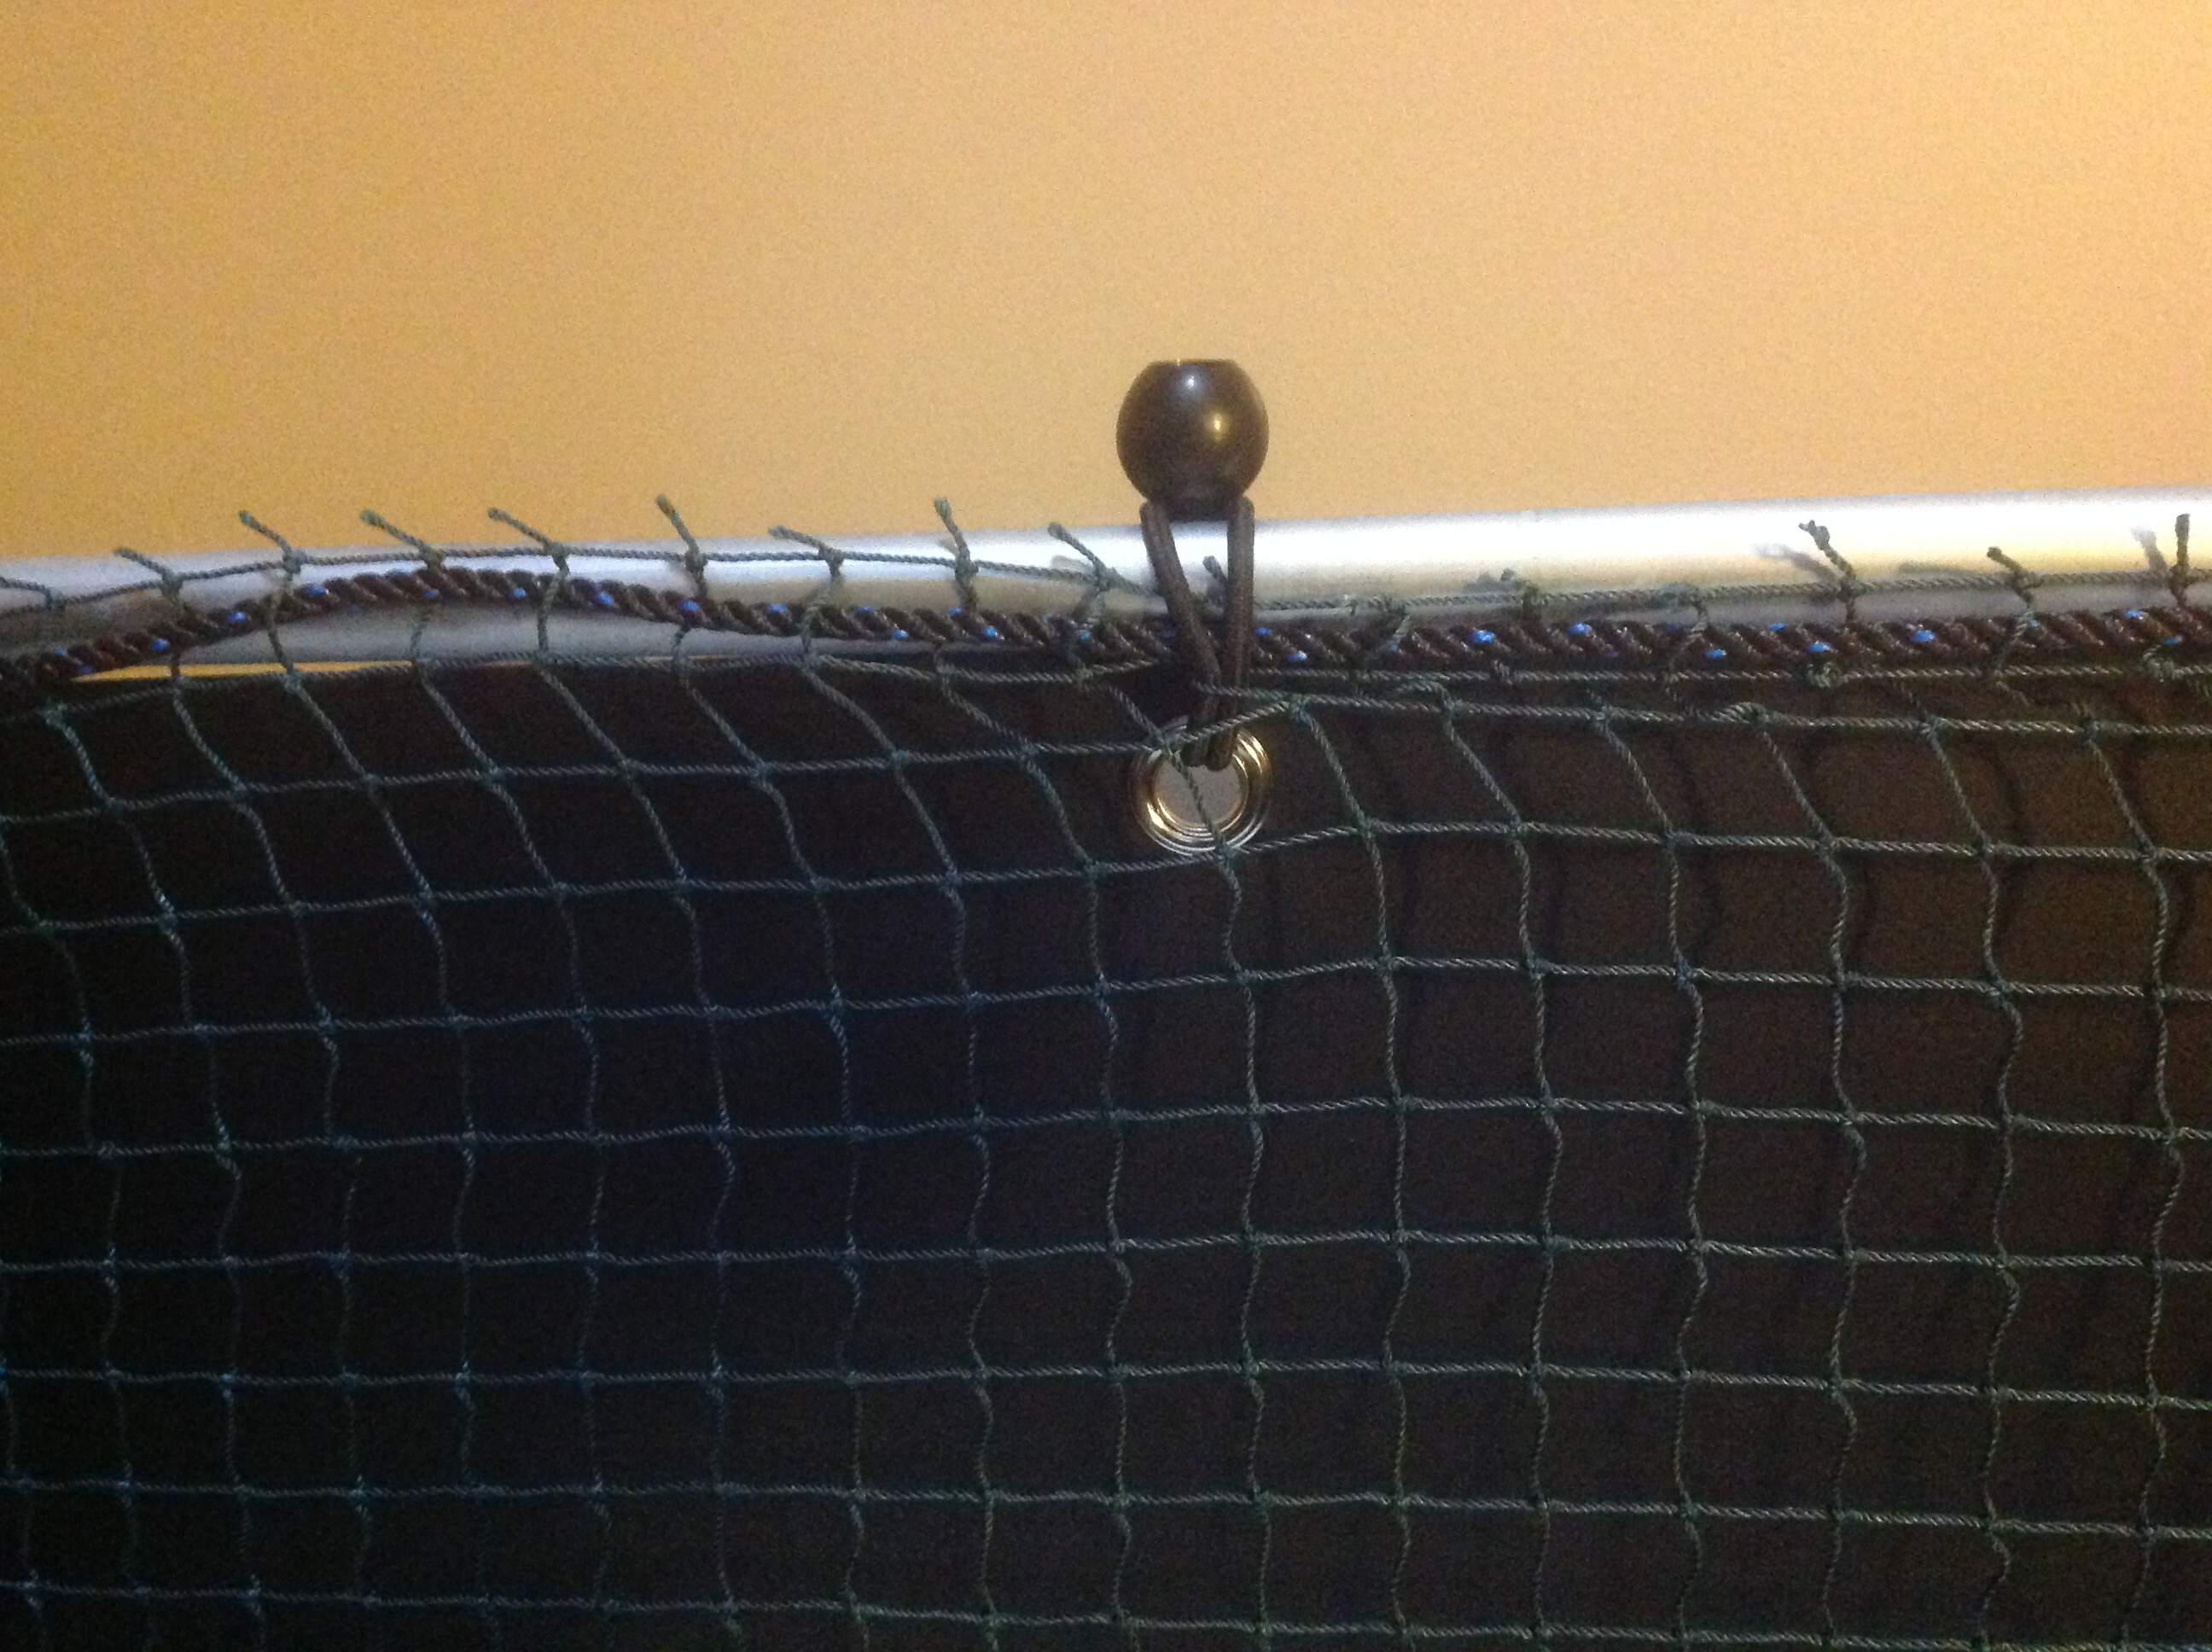
BLACKOUT PANELS- We stock a heavy duty black nylon material ( 1 roll weights 329 lbs ! ). We machine install grommets every 18". Attaches to frame with ball bungees. Works great, the only downside its not the most aesthetically looking approach. Great for garages and basements. Designed for shorter sides ( 3-5 ft ) .
HIGH END WRAP AROUND
Panels are either installed with grommets/ball bungees or vel-cro flaps. Both do the same thing. The flaps are a cleaner look, since nothing is exposed.
CLICK
HERE
FOR DIY
CLICK
HERE
FOR PROSERIES
DO I NEED SIDES/TOP ON MY
The short answer is yes. Its best to have some type of side/top protection. Typically you are hitting 8-12 ft from the golf screen. That is a lot of open space to miss the screen or pop up a sand wedge and hit the ceiling. We recommend at least 3 ft of protection. If you have beginners and /or children, a full cage is recommended. The sides/top also provide some shade to help improve the screen image .
ADDITIONAL PADDING AROUND THE

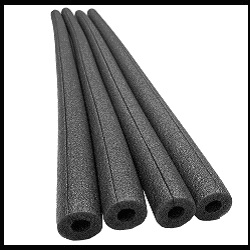
It is important to have padding around the golf cage to protect the frame from being struck by a golf ball. Trust me , a ball will eventually hit the frame. The first area to rpotect is the frame. Just buy pipe insulation at Lowes/Home Depot. Comes in 6 ft length and just wraps around the frame. Secure with duct tape every 2 ft or so and on seams.
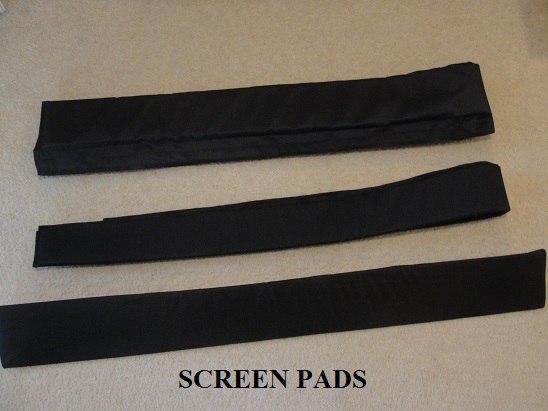
We also make 6" pads for around the golf screen. These create a picture frame around the screen . These are available in any length up to 15 ft.
For those who hit a lot of low shots, we have triangle pads that sit on the floor in front of the screen. These come in 3,4 and 5 ft lengths. They are slanted to allow the ball to shoot up and not back at you. No matter what golf cage you build, make sure its well padded from any errant shots.
How much room do you need behind a golf simulator screen?
You need 8-12" from the wall to the screen to allow room for the ball to compress.
Make sure any windows behind the screen are blacked out from light. Light can easily cause issues with the image quality on the screen.
What dimensions do you need for a golf simulator?
Most golf cages are 10 , 12 and 15 ft long x 8, 9 and 10 ft high and 3, 5 and 10 ft deep. At spectrum Golf, we can do custom sizes at no additional cost . When calculating the size fo your golf cage, be sure to leave 4-6" of wiggle room on the sides/top. If your ceiling is 9 ft tall, make the cage 8-8 ft tall. If you need any advice, send us your room dimensions and we will tell you the best size golf cage for your space. Depth is the biggest question we get. A 10 ft deep enclosure means you are hitting inside the cage . A 5 ft deep enclosure typically means you have 3-5 ft of open space between the ball and the screen . You can always add some netting for added protection.

CONCLUSION
Planning is the key to setting up the right golf enclosure for your application. Just drop us an email and we will answer any questions you may have and recommend the best enclosure for your setup. Just email us at optishotgolfsimulator@gmail.com
